All posts by admin

A Post

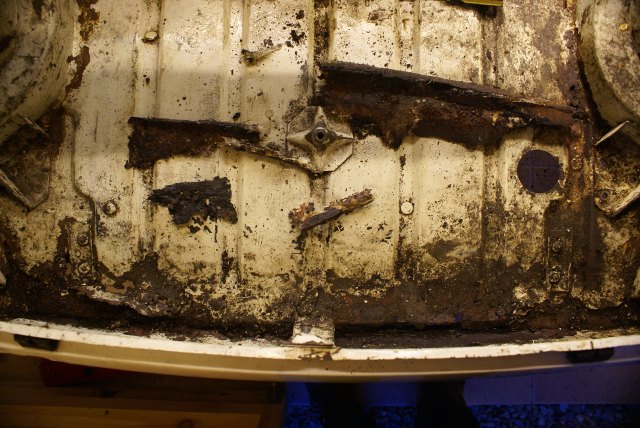
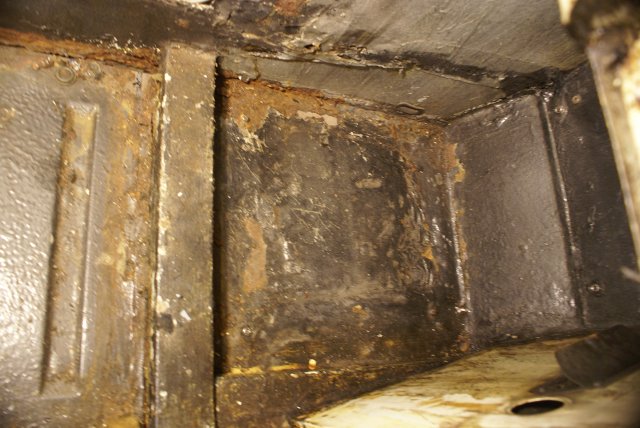
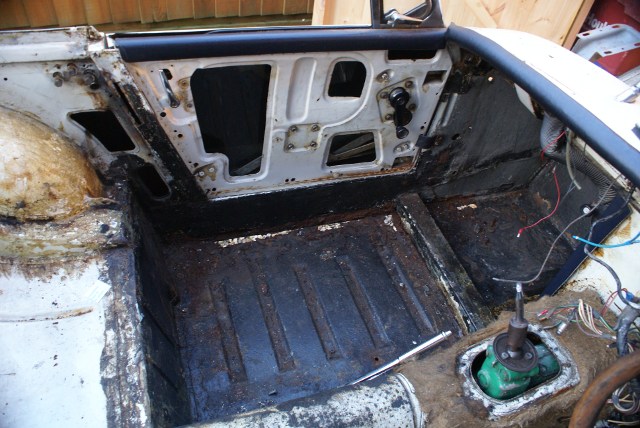
There has been some progress in the last few days.  All the panel joins have seam welded with the exception of the floor pan to the chassis rails which has had spot and some stitch welding. At least it will be easy to split the floor pan from the chassis rail in 20+ years time when the next floor is fitted.

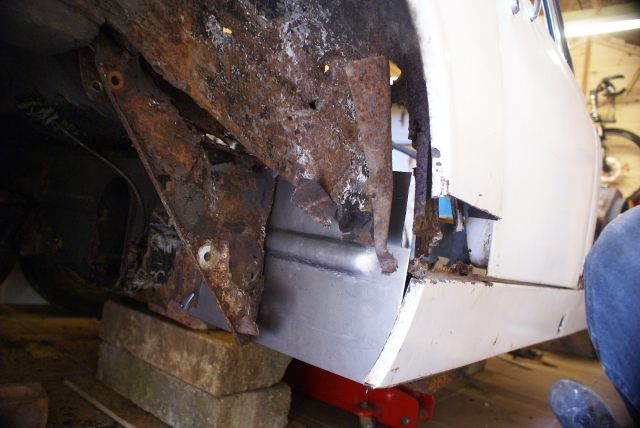
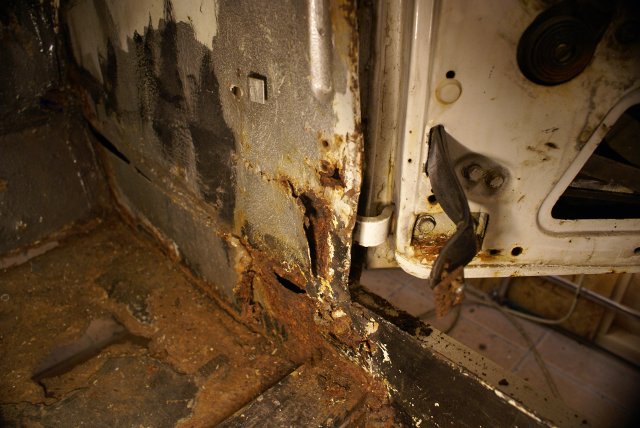
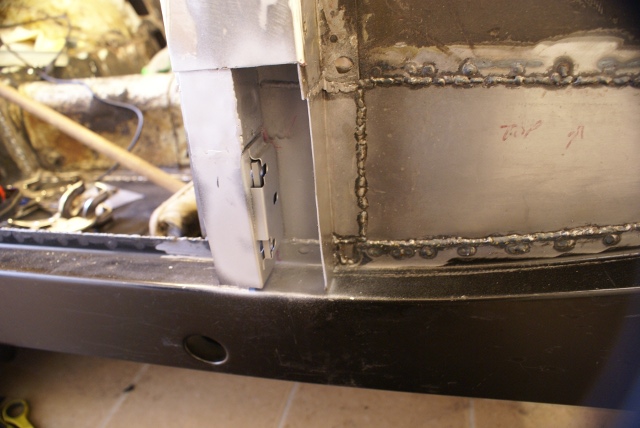
Attention then turned to the A post. A new lower hinge mount had been purchased along with a lower 1/4 A post cover. The rest of the A post was made up from sheet steel to replace the rotten bits and all welded in place. Again, most joins were seam welded for strength and to keep the water out. Some tidying up is still to be done and he door needs persuading to line up with the straight sill but that will be another day.

dsc00757

dsc00754

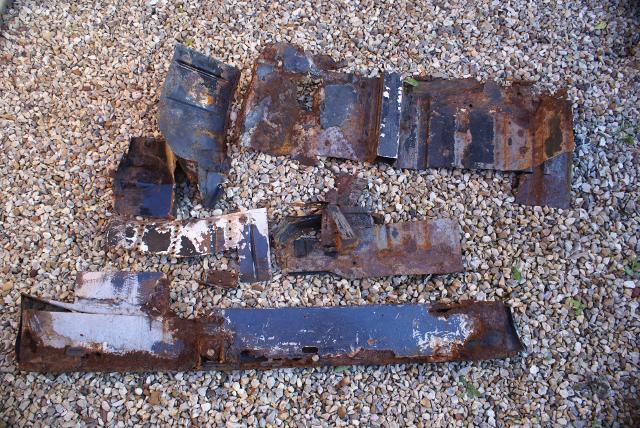
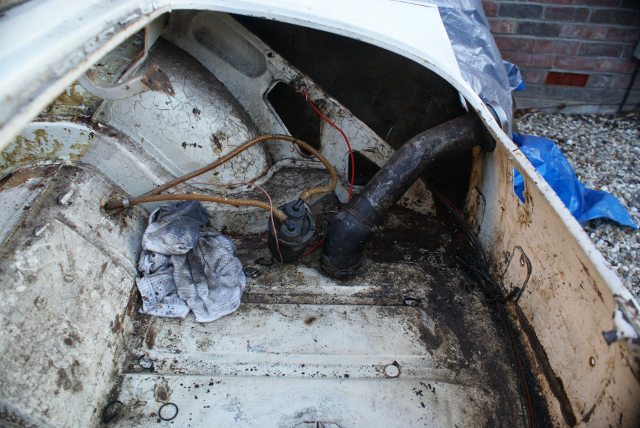
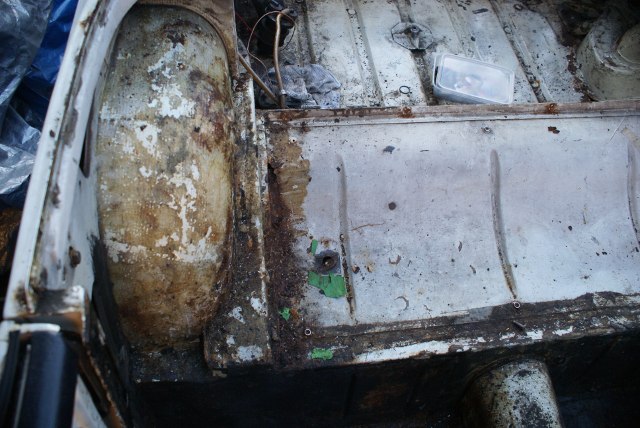
And these are some of the panels and bits that have been cut off so far:

dsc00756

The First Floor

I’ve been a slacker with regards updating the diary over the last few weeks.   Just after the last post I had a few good evenings work and the new floor was cut to size and all the panels were clamped or clipped together with Cleco clips and clamps.  It felt like progress just in time for my holiday so off I went for a week.

Upon return from holiday I had a day to myself so was able to get into the garage and fully prepare the panels for welding. It is amazing how much time the fine fitting takes and after 5 hours I fired up the MIG and started welding some panels into place.  The inner and outer sills were welded together off the car and then added as an assembled unit.  One thing I did discover is that the 5mm holes created by the punching tool really are too small for MIG welding, especially on the vertical surfaces. As a result a lot of the joins will also be seam welded as well now to ensure it all holds together.

Part way through the welding I replaced the regulator and welding clamp on my Clarke 135TE welder. This made a huge difference to the consistency and quality of the welds and I wish I’d done that earlier.

Here’s the latest photo – there is still a lot of welding to do including seam welding the floor panel along the transmission tunnel.  For the time being attention has turned to the side panel and A post.

dsc00745

Dude – where’s my floor?

Over the last few days I’ve attacked the floor with the cutting disc and grinder. The cutting disc came out to and a few cuts later had most of the floor out and the sill dropped off with one good cut. The door is now wedged shut and is all that is holding the drivers side together.

dsc00730

A couple of hours this morning had the remains of the floor removed. I was hoping to create a flange in the foot well along the transmission tunnel but the steel was too thin to be used so I had to grind all the spot welds holding the floor pan to the chassis rails.  It was well worth doing and I’ll have a very solid chassis afterwards and lots of nice clean edges to weld to.

dsc00732

Rear bulkhead – pt 2

Rather a late update as I’m now tackling the toe boards but the rear bulkhead is temporarily in position. Due to the lack of good edges to align panels to I’m taking a cautious approach and only welding what I have to initially and using Cleco clips where possible.

Here is the rear bulkhead repair section clipped in place.

dsc00703

..and this is the interior view where it has been partially welded.  There is nothing holding the sills at the rear so there isn’t really any strength in the side of the car, but fortunately the transmission tunnel is sound so hopefully when the sill is removed from the front it will still hold together.

dsc00678

Yes, I know there is no cut out for the spring hanger box section but at this stage I had no reference point as to where it goes.

The final picture for today shows the inner rear bulkhead clipped into place. Also the spring hanger section has been fitted and held in with Cleco clips and a repair section along the top of the bulkheads has been tacked into place.  When I’m happy everything aligns ok then they will be welded into place.

dsc00676

I have already started cutting the toe board away but no pictures yet so that will have to wait for another day.

Rear bulkhead

Managed a couple of hours slowly removing the offside rear bulkhead.  It has been slow progress due to the number of patch repairs in the past and I wanted to retain some reference points for aligning the replacement panels.

Good job I’ve a tiled floor in the garage – it will feature in a lot of photos for the time being.

midget110504a

midget110504b

The plan is to make a replacement rear outer bulkhead. I have a replacement inner panel and a new spring hanger box section plus floor pan.  Lots more cutting away and rest removal before I even get close to fitting in a new panel.

Finally Stripped

Work has been slow on stripping the Midget as I’ve been doing other task to create some space in the workshop.  Today I’ve finally stripped the last of the easily removable stuff from the chassis and there are just a few clips and bits left in place – plus the window glass and mechanisms.

The body is in a bad way and there is plenty of evidence of a bodged refurb that I suspect was done about 10 years ago.  Plenty of hard filler in the floor pan to cover the holes and lots of underbody seal to hide the bodge.

I’ve been buying new panels ( sills, floor pans and cross members ) but more are required. Just glad there is no race against time to get this done.

Here is a selection of photos of the situation as it stands.

stripped-1

stripped-2

stripped-3

stripped-4

stripped-5

stripped-6

stripped-7

stripped-8

stripped-9

stripped-10

Stripping the Midget

I’ve been slowly stripping the Midget over the last week and I’m now starting to see the scale of the task ahead. It’s is rather fortunate that I do like welding but the problem I can see is what to weld the new panels to.  The A and B posts are in a bad way where they meet the sills. The floor isn’t joined to the sills and there are substantial holes under the pedals. The rear spring hangers on the bulkhead have been repaired badly in the past so they need replacing, and so the list goes on.

Anyway,  a few pictures of the state so far.

mg-fuel-pump-in-boot

mg-nearside-arch

mg-os-floorpan-1

mg-stripped-interior

New Toy

Today (13th March 2011) I took delivery of my latest project but quite why I chose this car is unsure. I was at Race retro the other week and tried out a race Midget for size and was surprised that I fitted fine. One week later and I’m on ebay and bidding on a 1970 car that was “for spares or restoration”.  Worryingly this car was on the road in the summer of 2009 but there are holes in the floor, sills, A posts, B posts, wheel arches – and that is before I strip anything off it.  Over the next few days I’ll be organising the shed so that there is space to work on the Midget before I get cracking on it and get to see what is salvageable.

One good thing I’ve already noticed is that there is more headroom in the Midge than the TVR S3. Legroom isn’t quite as good but with some GRP seats that issue can be resolved.  Here’s a shot of the interior – and this is the best part of the car!

midget-interior

First job is to sort out the paper work and get the V5C and V890 to DVLA.  Time for a stiff drink now.